Skip to content

Software

Introducing WildMIDI version 0.3.2

WildMIDI

After several years of silence, There is now a new version of WildMIDI! Chris "Wildcode" Ison seems to have fallen off the planet around February of 2012 and the bug reports and patches have been accumulating on his SourceForge page. I decided to dump his SVN repository to github and continue hacking where he left off. We are still very much 100% API/ABI compatible and new versions can be considered drop-in replacements. We will continue to be open to developers that wish to improve WildMIDI but keep in mind that our goal is to be small and fast. We also wish Chris the very best and want very much for him to rejoin the project.

What's new?

There have been a lot of changes since WildMIDI 0.2.3.5, mostly involving our new build system.

  • Switched build system away from autotools and now using cmake
  • We can build natively on: Linux, FreeBSD, Windows and OSX
  • We support GCC, Clang, XCode and Visual Studio
  • Pulled in all out-standing patches from SourceForge, Debian and FreeBSD
  • Compile without warnings using enforced -Werrors
  • Found and fixed additional bugs

What we need: We still need people with other platforms to test WildMIDI and file bug reports and patches so that we can support more platforms as well. This includes both the library and the player.

We are also looking into adding new features, such as: XMI playback support, SF2 and DLS support.

Downloads:

  • Win32 Binaries (exe, dll, lib): WildMIDI-0.3.2-win32.zip
  • OSX Binaries: Not currently available, they can be built from source but there is currently no sound-code for the wildmidi player. You can however dump music to a WAV file.
  • Source: wildmidi-0.3.2.tar.gz
  • Free Patches (GUS):freepats_20060219.orig.tar.gz (extract the 'freepats' directory to where you want and adjust the 'dir' in wildmidi.cfg to point to it)

For more information: If you wish to read more about the History and the Future of the library, please read our WildMIDI Project page.

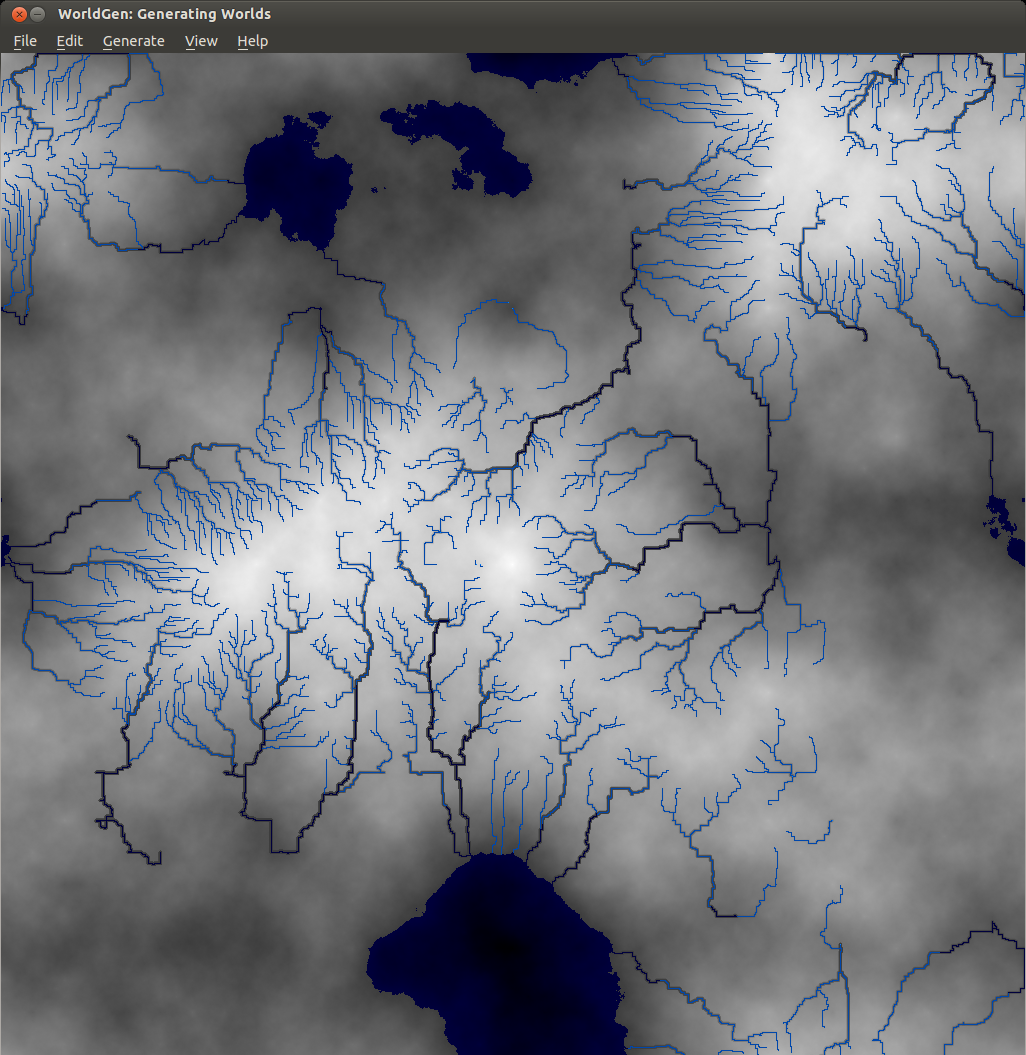
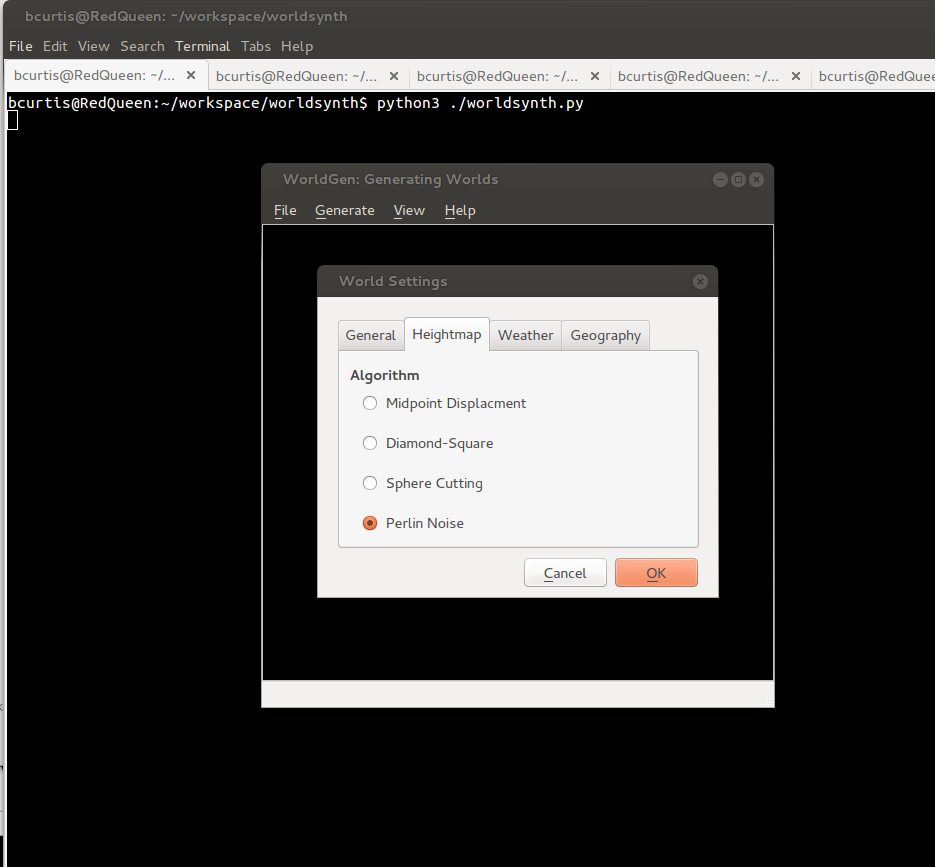
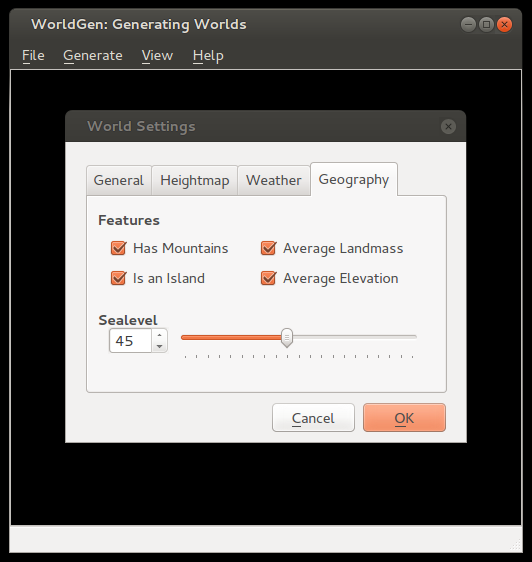
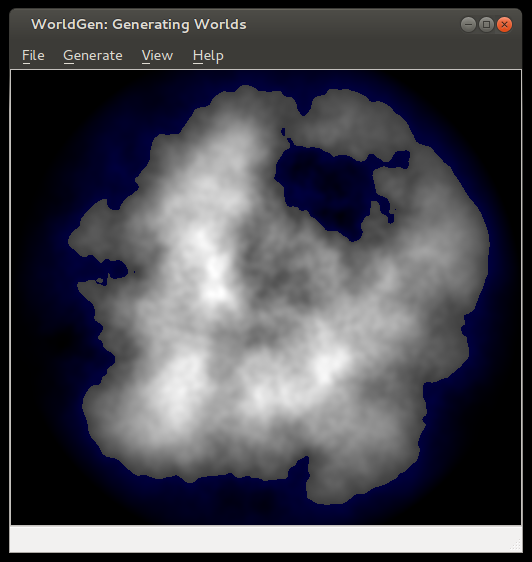
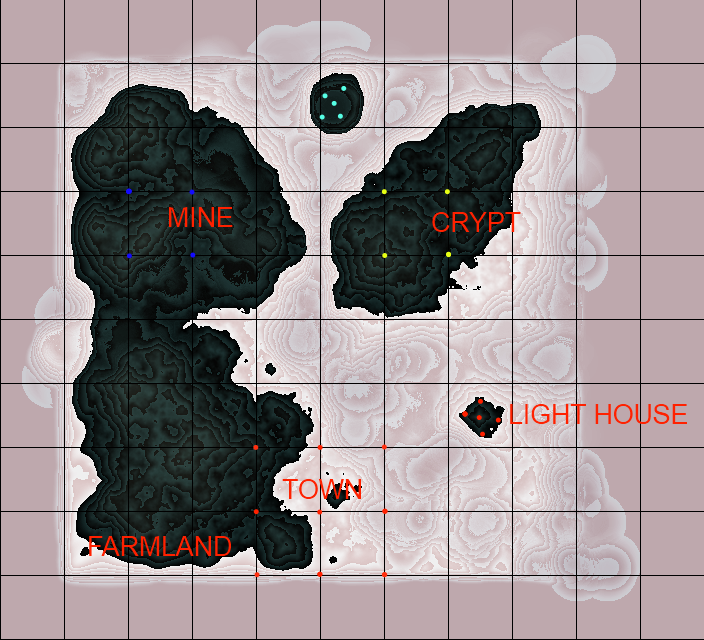
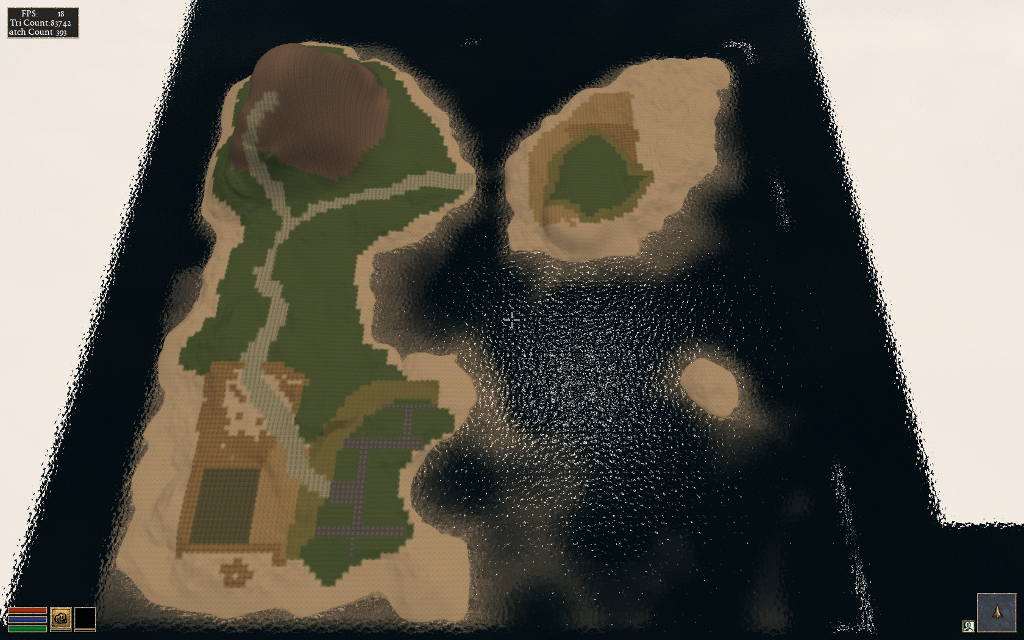
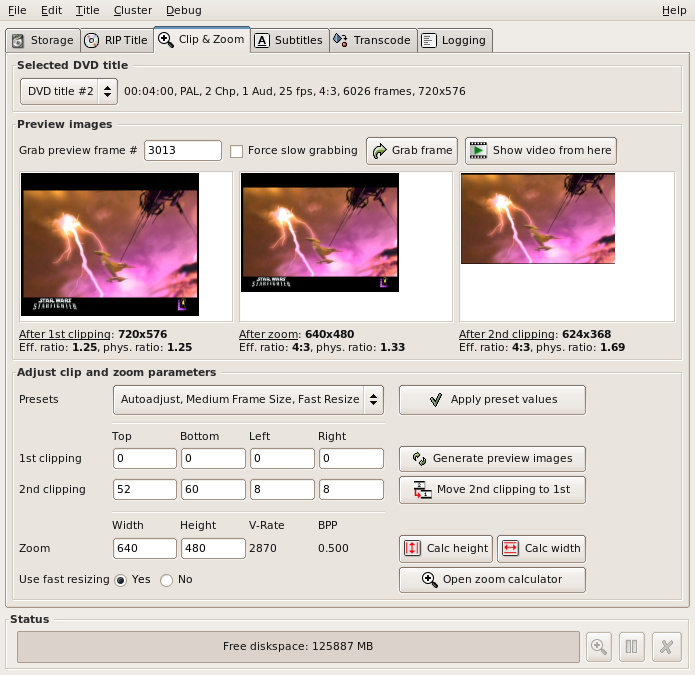
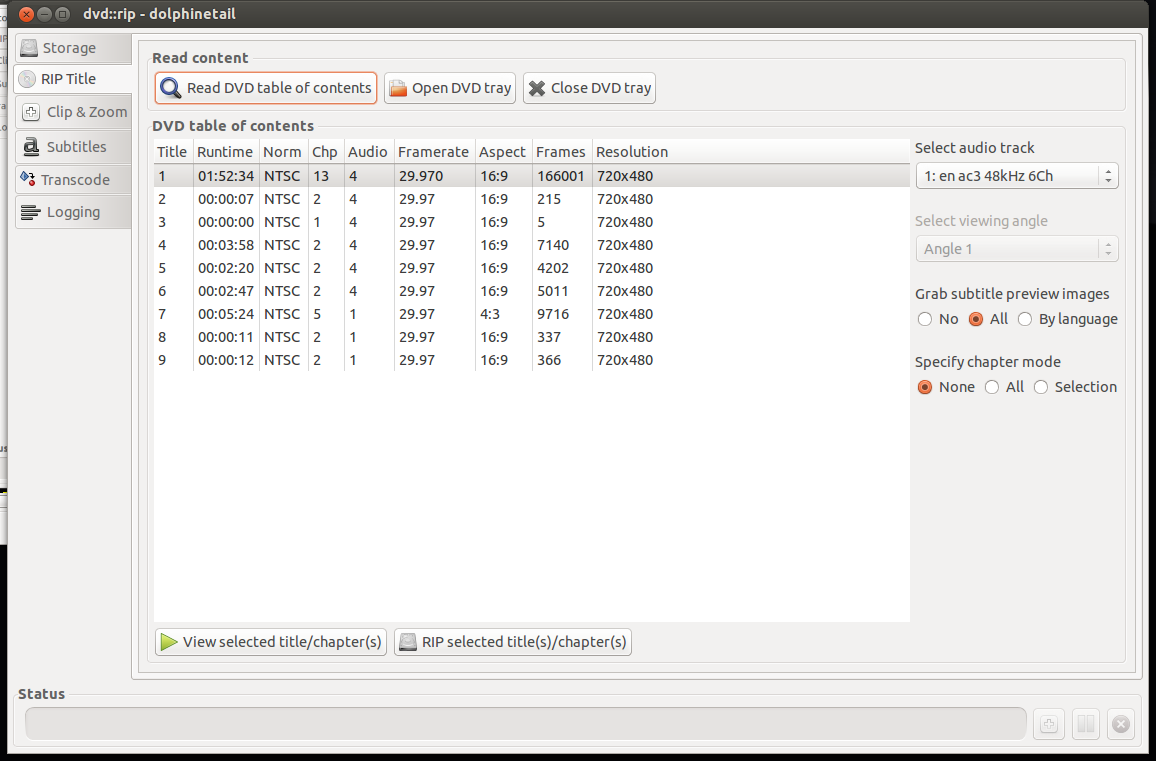
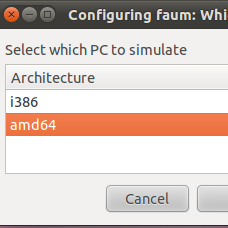
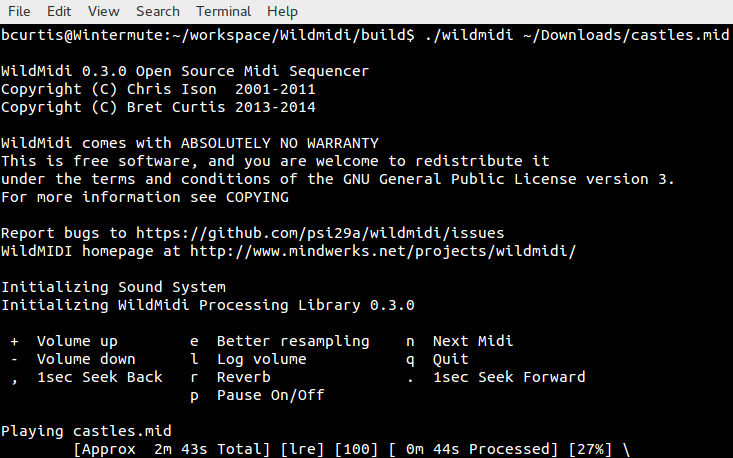
Screenshots running on Windows and Linux:

Worldsynth 0.11.0 released

Rivers

Worldsynth version 0.11.0 is released and can be found on github.

In this release we've added an additional algorithm for heightmap generation based on Ken Perlin's work in noise generation. We decoupled the sea-level to be configurable based on percentage, which in addition to masks we can now create islands. You can also save your world and open it up later since we use pytables to store our settings, metadata and our data in an open hdf5 format. You can also export your heightmap in 16-bit PNG greyscale or even import from a wide array of images formats as a heightmap. Importing from an image creates a 16-bit precision greyscale heightmap. In addition to this, one commenter ask about Python3 support, well now you have it.

The immediate future of Worldsynth has the following: fluvial erosion, better river erosion, better river flow/snaking and editing properties of world.

Here are some screenshots of some of the latest features:

noise

options

island

seaLevel

elevation

Worldsynth 0.10.0 released

Rivers

Worldsynth version 0.10.0 is released and can be found on github. This is our first "official" release in which the result should work, out of the box, with a usable and familiar GUI instead of the pygame environment. This is provided by Qt4 via PySide. We have even tested Worldsynth on Windows XP to validate that it is indeed cross platform.

As for 0.11.0, we are looking to unlock size of terrain to be of any variable width and height instead of the basic power of two. We are also investigating fluvial erosion.

Here is a demo of the latest release: https://www.youtube.com/watch?v=xgxS1MpVBeY

Some of the things changed in this release are:

Improved our just-in-time library loading so that only libraries are loaded as needed and were needed. This also helped to reduce the number of dependencies necessary for running Worldsynth.

We implemented an erosion model so that we can use it as an overlay over the original heightmap.

There is also now an overflow flag that treats the terrain generated as one that wraps. Rivers, for example, can flow off edges of maps, overflow into other side. This make the world seamless and one step closer to being able to wrap the terrain to a globe and having a world.

We also have a demonstration of Worldsynth running on Windows. https://www.youtube.com/watch?v=QaHid9-etzo

Here are the files and libraries necessary to run Worldsynth on Windows:

Introducing worldsynth for your world generation and building needs

Rivers

After many years of development in my spare time, I've decided to release Worldsynth as a Free and Open Source Software. As a world generator, it fills the roll and can also be rapidly extended to support additional features. The source might not be of top quality, but the main purpose of creating it has been fulfilled and I want to share it. I only hope that others will find it useful and want to build upon it.

There is still much more functionality that I would like add and additional polishing to the user interface. Midway through I switched from pygame to pyside or Qt4 for the GUI. I consider it ready for "Alpha" at this point, meaning there might be bugs and few experimental features that may break but otherwise usable.

What we have so far:

  • Heightmap - What we have so far is the ability to create a heightmap using three different methods: midpoint displacement, sphere slicing and diamond square. Each have their advantages and disadvantages depending on the type of terrain map you desire.
  • Heatmap - Based on the heightmap we generate a heatmap to get our temperature range across the terrain, either full equatorial or picking between northern or southern hemispheres.
  • Weather - There is wind and precipitation that are heavily influenced by the contours of the terrain. This includes rain shadows from mountains and average rainfall based on wind direction.
  • Drainage - The drainage dictates how fast the water is absorbed by the terrain. This has in impact on the type of geology that is there such as soft ground good for farming or hard stone that water just flows over with little erosion.
  • Rivers - With the rain water that collects when falling down the mountains and hills of the terrain, at a certain point to form streams that collect further into rivers. It flows either out to sea or collects into a depression of the terrain. This also has an impact on erosion on the terrain.
  • Biomes - With all the layers above we can then synthesize biomes which give a sort of realistic habitation zones that we find in real life.

Media: I've made films of older versions Worldsynth to give an idea of what is possible. The GUI has since changed from pygame as of version 0.8 to pyside in version 0.9, but the main features haven't changed. The follow video demostrates all the major features talked about above. http://www.youtube.com/watch?v=INfN3IXwwzg

The next video is older but still gives another demonstration. http://www.youtube.com/watch?v=Sixm7dd9klY

Outside interest: Other projects have already taken an interest in Worldsynth and have used the results for building their own worlds. OpenMW is a FOSS remake of the Morrowind game engine that will let you play Morrowind on multiple platforms. They are also working on a OpenCS which will be better than the Morrowind Construction Set, win parallel with an OpenES or "Example Suite" that will allow anyone to use OpenMW without having to own Morrowind.

They first had to generate a heightmap that fit their requirements, three relatively big islands in a 512x512 map.

OpenMW Heightmap

Landscape

Once they had a heightmap that they could work with, they did a test conversion into an usable ESM for OpenMW. They used a tool made by Lightwave called TESAnnwyn which allow for the creation of an ESM using the heightmap. I've talked with Lightwave about open-sourcing his work, and he replied that it would love to but first needs to clean it up. He did provide Linux 32 and 64 bit versions of TESAnnwyn that I'm allowed to host until he can get around to it. tesannwyn_linux.tar

The result is a success!

Import of Heightmap Works

Raw Heightmap in OpenMW

With this they can plan out what they want to do and where things should go before editing.

Landscape and Overview

The ESM was put into the editor to mold their new world. I would love to add some of that very functionality into Worldsynth. The result of their modeling is this.

Demo of edited Heightmap

They are still building and creating, but this drop in replacement for Morrowind (Example Suite) is coming along fine. You can have a look for yourself as they provided me with a demo ESM you can use. Place OpenMW.esm in your "Data Files" directory next to Morrowind.bsa. Rename Morrowind.esm so that it is out of the way and copy OpenMW.esm to Morrowind.esm. With OpenMW, use the launcher and select OpenMW.esm in the "Data Files" tabs. Close the Launcher then on the command line type this: openmw --start="Town, Centre" Once in, hit f2 to open the console and set your speed so you can fly around and view the work that is going on with the Example Suite. player->setspeed 500

This is very good for moral here as people are actually using Worldsynth for their own projects. It is possible that they will ship it with their OpenCS or at least link against it for their heightmap generation needs.

Properly ripping DVDs and adding subtitles in Ubuntu

dvd::rip

There are occasions where you legitimately need tools to help that would otherwise be considered the domain of "pirates" and "ne'er-do-wells". In this particular scenario, my grandparents send a DVD from the United States (Region1) to us in Belgium (Region2). Not only will the DVD not play back on a region locked DVD player, there are also no Dutch subtitles.

There are however technological solutions to this type of problem, including such programs as dvd::rip, vobsub2srt and a few websites dedicted to crowdsourced subtitles.

Our first task is to properly rip a DVD. There are many options here, but I chose dvd::rip because it just works. It creates a small xvid (avi) file that is compatible with a set-top DVD player and it is also allows ripping of any subtitles found on the DVD. If may wish to dig into the documentation to really understand the details of dvd:rip. I'll give you a step-by-step run down on how I did things.

dvd::rip

  1. Install the program and it's libraries.
  2. Following the directions and make sure the directories are set, dvd drive is found and that libraries are installed.
  3. On the left will be tabs, use this as a process. Begin with "Storage" where you set the project name, dvd drive to use and "Copy data from DVD to hard disk before encoding" which will make things faster.

Storage

  1. On "Rip Title" you need to read the data on the DVD and select which files to rip. First "Read DVD table of contents", select the Title or Titles you wish to rip, usually the one with the most Chapters and/or Runtime is your target. Highlight that entry, select on the right your audio track (en for English, other en entries are usually commentary tracks). Set "Specify chapter mode" to None so that it is ripped as one file and not a set of files (per chapter) and set the "Grab subtitle preview images" to All so that you can select what subtitles you wish use, if any. The last step here is to "Rip selected title(s)/chapter(s) which will take a few minutes.

RipTitle

  1. Select next the "Clip & Zoom" which will allow you to set the correct format (size) that is perfect for your TV. You need to be careful here because the source (DVD) can be different such as: letterbox (widescreen) 1.85:1 ratio, anamorphic (widescreen) 16:9 ratio, or pan & scan (fullscreen) 4:3 ratio. Look at the back of your DVD box to verify. To test different settings, do a grab frame and try various "Autoadjust" presets until you find something that looks right. If you are playing back on an older DVD player with USB divx/xvid/avi support, then try to pick Small Frame Size, which is about 480p. This will make playing back smother as your hardware DVD player doesn't have enough CPU power to downscale higher resolutions.

ClipAndZoom

  1. Moving to the Subtitles screen, you can select the DVD title that you ripped and the correct subtitle you wish to rip. You can either "Activate this subtitle" for rendering or "Create now" which will produce separate files which you can use later. I prefer another method of handling subtitles than hard-rendering them to the rip. After "Create Now", you will have extra files that we can convert to SubRip text file format (SRT) later.

Subtitles

  1. After that we go to the "Transcode" tab which is the 'meat' of the program. We select our DVD title, select a container of AVI, make sure the "Video codec" is xvid, "By target size"'s "Target media" to One x 700MB which will create one file at an acceptable bitrate. On the Audio Options side, "Select track" to the one we ripped and select MP3. I set the Samplerate to 192kbit/s to get better audio. the rest I set to defaults. On the bottom left gives you an "Calculated storage". If you are content with your choices, go to "Operate" and select "Transcode" and wait a bit more.

Transcode

  1. Success! Try out your newly made AVI file with VLC or another player to make sure it is to you liking. If you got an error, you can go to the "Logging" tab on the left and see where you went wrong.

At this point, you should have an AVI file that you can play back in your video player or DVD player. However the job is not yet finished as we also need the subtitles for those in their native language. We saw that we could 'Rip' subtitles with dvd::rip but the files we have are in the VOB format idx/ifo/sub format which may or may not be readable by your player. We can convert this format to a SRT text-based file which is widely supported subtitle format using a tool called: VobSub2SRT.

VobSub2SRT

  1. Download and build VobSub2SRT yourself or install the package via PPA.
  2. You will also need to install 'tesseract-ocr' and any of the language files necessary to handle the subtitle language you ripped earlier.
  3. From the command line, go to where your ripped subtitles are and run the command to convert (OCR) them into an SRT file.

vobsub2srt --lang en dolphinetail-001-sid00

This will use english (en) from the idx/sub files to make the srt file. You can find out which languages you can pick from using the --langlist parameter.

bcurtis@Wintermute:~/.dvdrip-data/dolphinetail/avi/001$ vobsub2srt --lang en dolphinetail-001-sid00 Selected VOBSUB language: 0 language: enen Wrote Subtitles to 'dolphinetail-001-sid00.srt'

Success! Just copy the SRT file to where your AVI is and your player should recognize and automatically use the subtitle file.

There are times when you have the film but there is not subtitle for your language of choice. This is where crowd sourcing comes in as there is no shortage of people wanting to either subtitle the film for free as volunteer work or for some other altruistic or non-altruistic reason.

Crowdsourced Subtitles

  • Bierdopje: Dutch subtitles for films and series.
  • OpenSubtitles: Multi-lingual subtitles for films and series
  • Podnapisi: Older Multi-lingual subtitles for films and series

Resizing Video There can be moments where you have a file you want to play back on your DVD player and it complains that the resolution is not supported. This because it doesn't have a CPU powerful enough to downscale your film to your TV's resolution. I found this Video Conversion Guide which helped. You just need to figure out what your TV's native resolution is, and try to match it. For example my TV is an old CRT PAL monster and the source is a 1280x720 video. The DVD player doesn't support that resolution, but it is 16:9 ratio. We then convert the mkv to an avi to stay within the same ratio and play back on an old style PanScan CRT.

mencoder input.avi -ovc xvid -vf scale=648:364 -oac mp3lame -lameopts cbr:br=192 -xvidencopts pass=2:bitrate=-1400000:threads=4 -o output.avi

This converts the film 648:364, however you should keep in mind your TV's resolution. The guide gives a better understanding and there is no need to repeat the information here.

The end result should be a film for your USB in with a subtitle of your choice.

Dell DSET on Ubuntu 10.04 and 12.04

UbuntuOnDell

Dell System E-Support Tool (DSET) is an informative tool used by Dell's support engineers to help diagnose problems for their clients. It is almost a requirement now and Dell usually refuses to continue support without a DSET report.

The problem is that DSET is only supported on Redhat and SuSE Linux and there isn't any information on how to get it running in Ubuntu. I've assembled a rough guide on how to get DSET up and running on Ubuntu 10.04 and 12.04 and it is tested against a Dell R610 and R620. First we need to install Dell's OpenManage Server Administrator (OMSA) which is one piece from Dell that does support Ubuntu. http://linux.dell.com/repo/community/deb/latest/

You can cut and paste the following: echo 'deb http://linux.dell.com/repo/community/deb/latest /' | sudo tee -a /etc/apt/sources.list.d/linux.dell.com.sources.list gpg --keyserver pool.sks-keyservers.net --recv-key 1285491434D8786F gpg -a --export 1285491434D8786F | sudo apt-key add - sudo apt-get update sudo apt-get install -y srvadmin-all sblim-cmpi-base rpm alien sudo ln -sf /usr/bin/rpm /bin/rpm

The above will add Dell's repository to your apt sources and grab everything necessary to install the OMSA. It does include a java/tomcat webserver for a web GUI interface, but that is not enabled by default and not necessary for our DSET. You'll need to logout and log back in again to reset your path variables.

root@dmachine:~# /opt/dell/srvadmin/sbin/srvadmin-services.sh start Starting Systems Management Device Drivers: Starting dell_rbu: * Starting ipmi driver: * Already started Starting Systems Management Data Engine: Starting dsm_sa_datamgrd: * Starting dsm_sa_eventmgrd: * Starting dsm_sa_snmpd: * Starting DSM SA Connection Service: *

Secondly, if you are using an 'OEM Ready' Dell server then OMSA dataeng (Systems Management Data Engine) might complain with "Failed to start because system is not supported". There isn't any 'official' support for OMSA on these systems but you can contact Dell's OEM wing for custom solutions here: http://content.dell.com/us/en/enterprise/d/oem/oem-engineering-services.aspx

To get OMSA working on an OEM system, we need to modify this file: /opt/dell/srvadmin/sbin/CheckSystemType which calls the file: /usr/sbin/smbios-sys-info-lite which does not return back the expected value. I've modified it to key off the 'Is Dell' flag which is 1 (True). The patch can be found here: checksystem.patch patch -p0 < checksystem.patch Once the patch is applied, Systems Management Data Engine should start without problems.

Thirdly you need to download the 32 or 64 bit Linux version of DSET. You then need to edit the bin file to not run the install.sh file and to also not delete /tmp/dell_advdiags when it is finished running. You'll need the rpm files that it extracts to install DSET on Ubuntu.

Example from dell-dset-3.2.0.141_x64_A01.bin: ( the # comments out the none necessary bits )

source install.sh

cd $CDIR

rm -rf $TMPDIR

The only ones that we need are these:

dell-dset-collector-3.2.0.141-1.x86_64.rpm dell-dset-common-3.2.0.141-1.x86_64.rpm dell-dset-provider-3.2.0.141-1.x86_64.rpm

DSET binaries can be found here: http://support.dell.com/dset/

Fourthly you'll need to verify that /bin/sh points to bash instead of dash because Dell's scripts rely on bash's functionality. sudo su - ln -sf /bin/bash /bin/sh sh dell-dset*.bin mv /tmp/dell_advdiags ~ cd ~/dell_advdiags/rpms alien --scripts dell-dset*.rpm dpkg -i --force all *.deb dellsysteminfo

You might have to do these steps one at a time, but that is the flow of things. Alien sometimes complains about 'unknown flags' and dpkg will likely also complain about overwriting existing files. The first problem has bothered me so far, but the last is DSET overwriting existing OMSA files which as far as I can tell are the same files.

When you run dellsysteminfo, you need to give it a password. This is your typical Linux account password. You should now have something to hand over to the Dell Support people.

Skype 4.0 on Ubuntu Precise (12.04) 64-bit

skype

There is a new version of skype out for Linux, version 4.0 which has interesting changelog entries:

* Much lower chance Skype for Linux will crash or freeze * chat history loading is now much faster * ...several investments we made in improving audio quality ... and improving video call quality * ...extended support for more cameras * and more

Good enough for me! There is still no true 64 bit binary/package from Skype. The result is that their fake "64 bit" Skype needs an additional 100MB of i386 packages in order for it to run properly. The rundown:

  1. Remove old skype packages if they exist: sudo apt-get purge skype skype-bin
  2. Download latest Skype (4.0) (fake) 64-bit package for Ubuntu 10.04+. It might say skype 2.2 beta on the screen, they have yet to update the page. The download link goes to the 4.0 version.
  3. Install the necessary support libraries: sudo apt-get install ia32-libs lib32stdc++6 lib32asound2
  4. Install the skype binary package itself: sudo dpkg -i skype-ubuntu_4.0.0.7-1_amd64.deb

Enjoy the ad-free Linux version of Skype thanks to... Microsoft.

Finding and making a network subnet calculator

subnet ip calculator

Doing subnet calculations by hand can be tedious and thankfully there are tools available online to help with that. One in particular Subnet Calculator with a PHP backend was handy and compact.

I've sent a few requests asking if I could re-write it to be client side so that it could be used in intranet applications or even possibly be ported as an hand-held application. After a few months of waiting and no response, I repurposed some of their CSS and layout and wrote the javascript equivalent.

Mindwerks's Subnet Calculator

The code is released as open source and can be reused as per terms of the license. It is part of the WP-Mindwerks wordpress plugin, but you can use it also as a standalone webpage.

ipcalc

A poor man's https, using ssh to secure web traffic

HTTPS_Everywhere_new_logo

Sometimes you get a web-hosting environment that only serves non-ssl (http) content. If you need to do any type of management through tools like phpMyAdmin, then you can see the problem with this. All it would take is someone on your network or on the Internet to sniff the traffic and retrieve your username and password, then they too can do a bit of "management" on your site.

If you also have secure shell (SSH) access, then there is a way to manage your site securely by using SSH's venerable port forwarding (SOCKS). The trick is to tell your management tools to only listen or respond to connections coming in over SSH instead of normal traffic. First you need to set up your SSH connection and configure your browser to use your newly made SOCKS proxy. Please refer to my post about SSH Proxies for more information.

The second part is to secure your application to only accept connections from itself, which is where your browser requests travels through your secure tunnel. We can mask it a bit so that you will have to look hard to see that there is something of interest going on there. It will also be ignored by Google and other search engines.

You can add this to your php code: /* custom code to deny access to world */ if ($_SERVER["SERVER_ADDR"] != $_SERVER["REMOTE_ADDR"]){ header('HTTP/1.1 404 Not Found'); exit();

If the remote IP (your request) is not he same as the server IP, then we give the 404 error message in return, otherwise you get to your application.

Build environments using chroot

i386 or amd64

The need was simple enough: make deb packages from source for multiple architectures on the same system. This needed to be done without the overhead of a virtual machine and without using something like launchpad.

I've used chroot in the past and it seemed like a perfect fit for the problem. The idea is to have at least two chroot-able directories with the bare essentials from Ubuntu Natty (10.04) to compile and build deb packages. Here is a simple way to accomplish this: sudo apt-get install dchroot debootstrap sudo debootstrap --arch i386 natty /opt/chroot_i386/ http://archive.ubuntu.com/ubuntu sudo debootstrap --arch amd64 natty /opt/chroot_amd64/ http://archive.ubuntu.com/ubuntu sudo chroot /opt/chroot_amd64 locale-gen en_US en_US.UTF-8 dpkg-reconfigure locales exit sudo chroot /opt/chroot_i386 locale-gen en_US en_US.UTF-8 dpkg-reconfigure locales exit

The next step is to update your apt repositories and get the latest updates and upgrades. Overwrite /etc/apt/sources.list in your respective chroots with the following: deb http://be.archive.ubuntu.com/ubuntu/ natty main universe multiverse restricted deb http://be.archive.ubuntu.com/ubuntu/ natty-updates main universe multiverse restricted deb http://be.archive.ubuntu.com/ubuntu/ natty-backports main universe multiverse restricted deb http://archive.canonical.com/ubuntu natty partner deb http://security.ubuntu.com/ubuntu natty-security main universe multiverse restricted

In each chroot we update to latest packages and install our build environment. apt-get update apt-get dist-upgrade -y apt-get install build-essential

While you are setting up one chroot environment and you want to mirror the installed packages in another chroot, then you can do the following.

Make a list: dpkg --get-selections > installed-software

Use list to install necessary packages: dpkg --set-selections < installed-software dselect install

This should get you going for compiling and building in separate environments. This technique could also be used for non-debian based distributions as well.